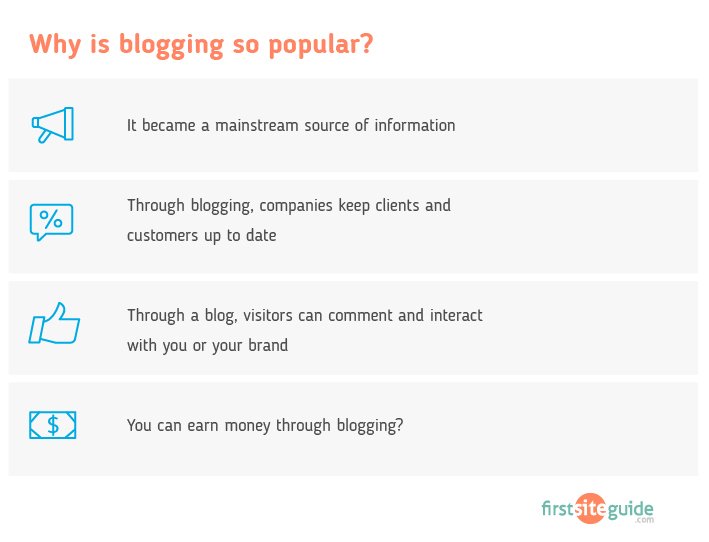
Even years before the term “blog” spread through the Internet, people were writing personal stories in different online formats. Back in the ’90s, individuals had been writing online journals and diaries where they were able to express feelings and share information. Since then, those diaries evolved into the whole blogging industry, and blogs quickly became a trend that everybody wanted to follow.
It’s time for you to learn how to start a WordPress blog of your own.
Today, blogs have become more than just a way of expressing yourself. They have become a way of life. Some people will occasionally write personal stories, while large enterprises will invest thousands of dollars into their blogs. Blogging has developed into a career and dream job for many individuals who can now work from any location in the world.
Getting started with WordPress
Now, whether you imagined your blog as a hobby or a potential money-making machine, first you need to make it. We will skip the motivational speeches and assume that you already set your mind on creating a WordPress blog. Oh well, you can even build a blog from the comfort of your couch if you have a laptop.
We want you to understand that there are various blogging platforms you can choose to set up your blog. But in this article, we are going to focus on the most popular blog site – WordPress.
So, how do you start a WordPress blog?
In this guide, we are going to show you how to make a WordPress blog from scratch using the two most popular methods:
- The self-hosted blog using the most popular free open-source software WordPress.org and Bluehost hosting. If you are familiar with WordPress.org and want to start a blog using it, click the link below.
Jump to “Setting up a WordPress blog with Bluehost”
- Also, a popular option – WordPress.com hosted blogging solution. If you are familiar with WordPress.com and want to build a blog using it, click the link below.
Jump to “Setting up a blog with WordPress.com platform”
Creating a blog using any of the above options is a straightforward task and can be done in 10-15 minutes. This tutorial is designed for Beginners (no technical or coding skills needed). At the end of the day, you will successfully launch your own blog.
Before getting into details on how to set up a blog, it is important that you understand the differences between WordPress.org and WordPress.com.
For starters, WordPress.org is an open-source CMS and thus available for anyone to download and use for free. Many developers, designers, and coders who loved the platform got involved and built a large community around it.
WordPress.com is a commercial project (service) that uses the WordPress.org system to power itself up.
Disclosure: FirstSiteGuide is supported by our readers. When you purchase via links on our site we may earn a commission. We test and try all the products that we recommend.
Setting up a WordPress blog with Bluehost (recommended)
Even if you’re just starting out, we strongly recommend going with the self-hosted version. Yes, there will be a higher learning curve and probably more work from your side, but having your own site that you get to control is priceless, and it definitely pays out to invest extra time into the management. You will be able to install any themes, plugins, and services that you wish, run ads, and monetize the blog the way you want. There are practically no limitations to a self-hosted WordPress blog.
Before you can install WordPress, you will need web hosting which can store all the files, manage your domain, and take care of your site.
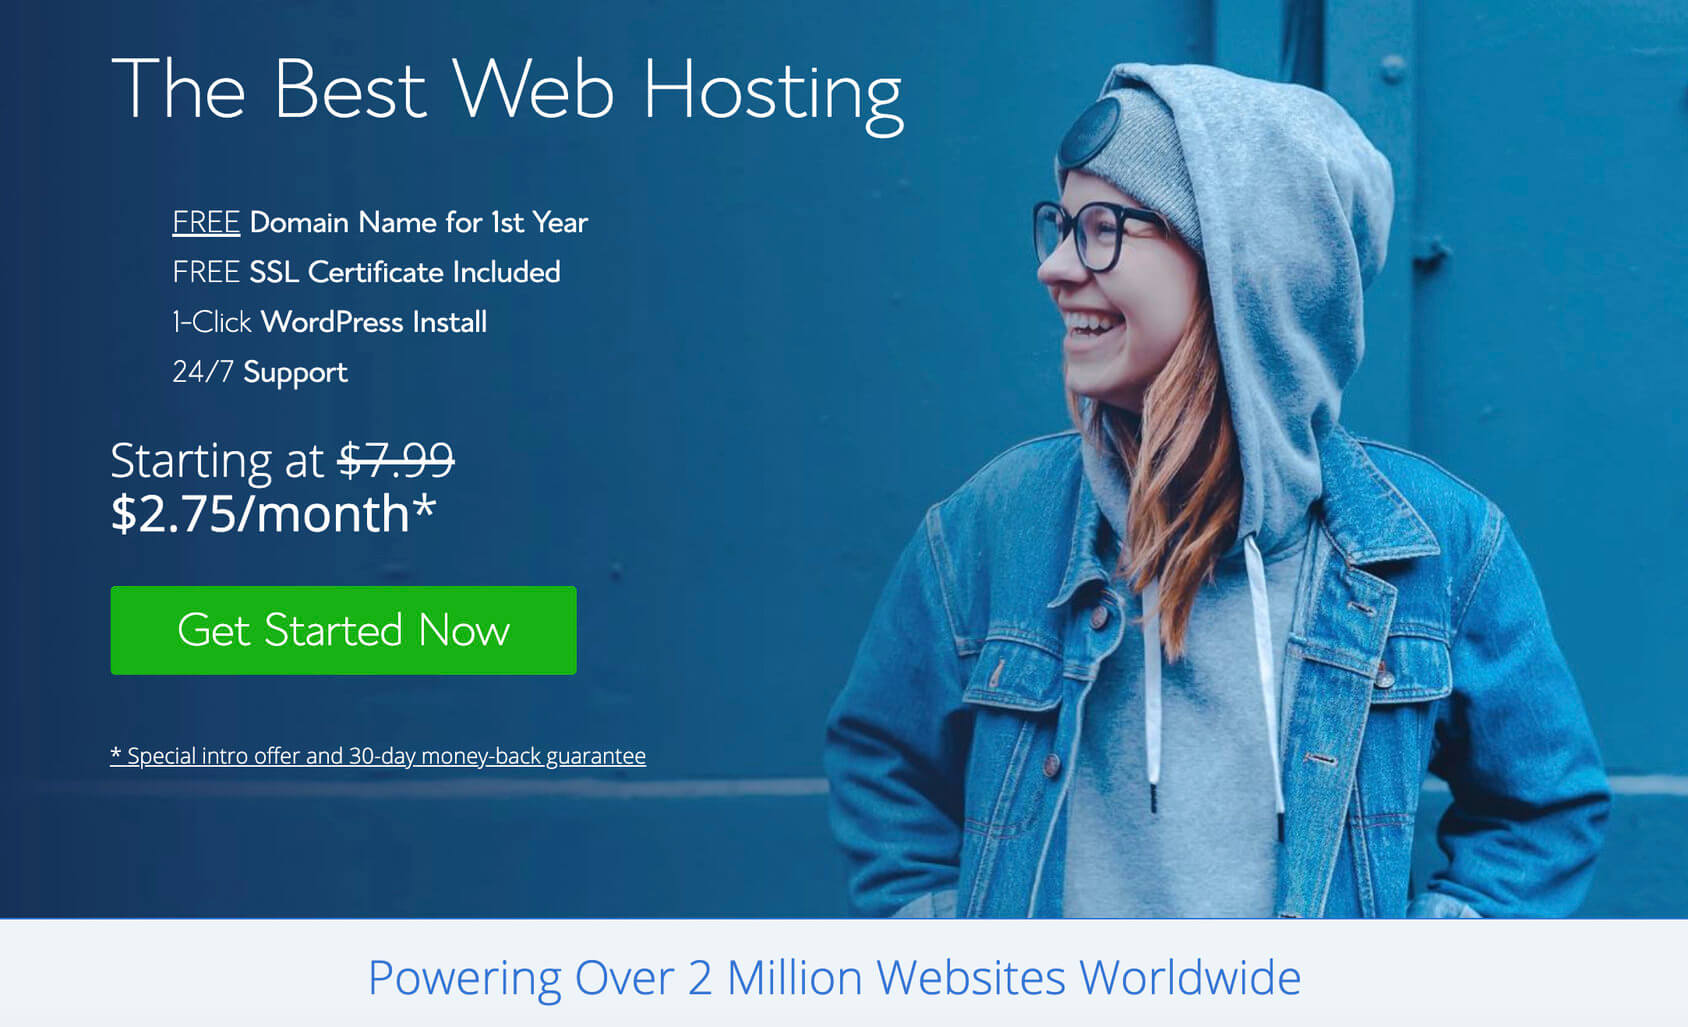
For the purposes of this tutorial, we have chosen Bluehost which is a fantastic and popular hosting company that lets you start a WordPress blog for as little as $2.75 per month! With Bluehost, even the lowest-priced option gives you a Free domain, an SSL certificate that will make your site more secure, an option to install WordPress through a few clicks, and 24/7 support.
The section below explains how you can register with Bluehost and install WordPress using the ‘one-click install’ button.
1. Visit the Bluehost site
Go to Bluehost.com and click on the “Get Started Now” button.
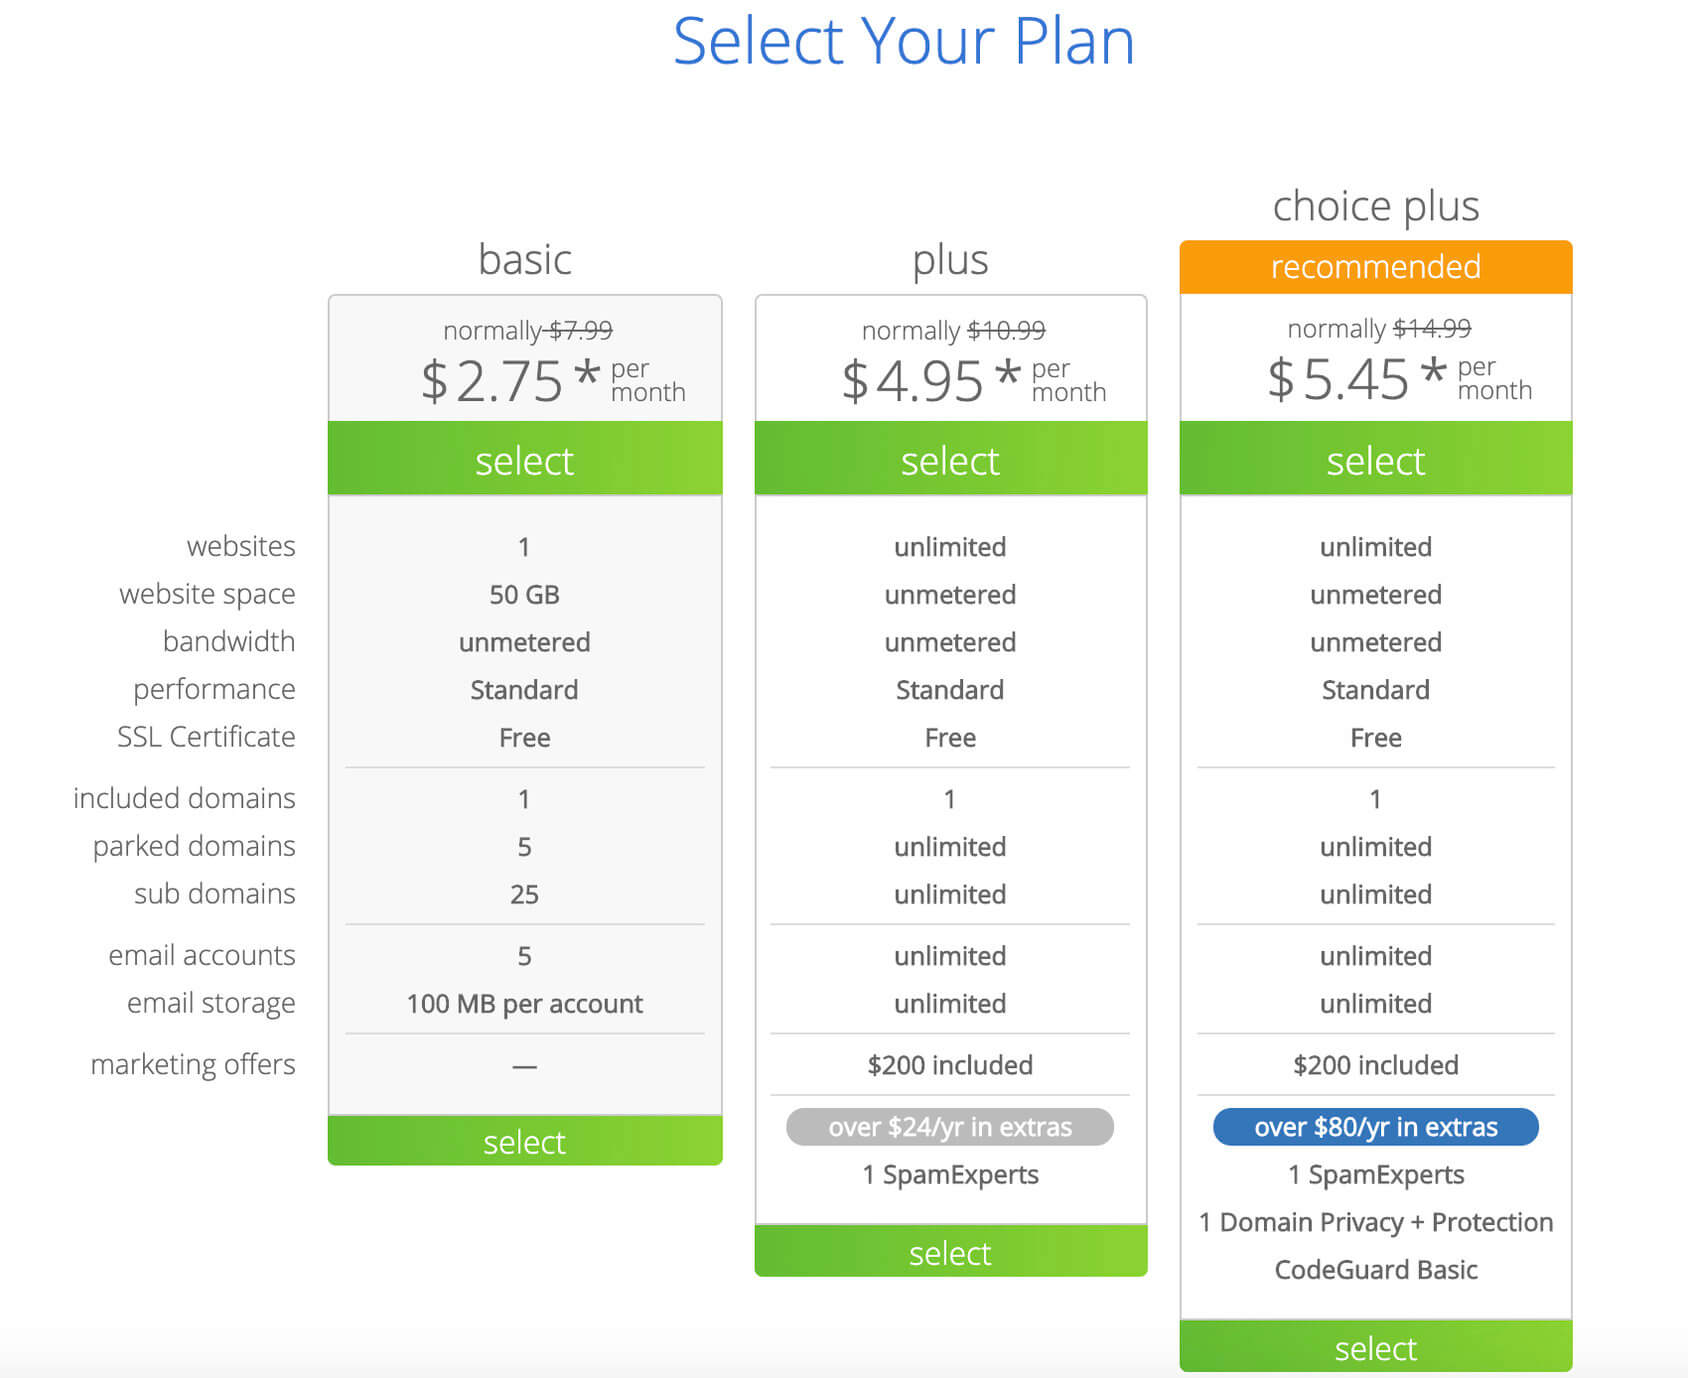
2. Select a hosting plan to start a blog
If you are a beginner, choose the basic plan as it will cover all the fundamental needs of your site’s functioning.
Once your blog takes off and starts receiving heavy traffic, you can consider upgrading to the prime version of your hosting plan, which offers advanced features better suited to handle the massive inflow of traffic.
3. Input a domain name
If this is your first time with a WordPress blog, you will have to register a new domain. Enter a name, and choose the extension from the drop-down menu next to it. There are different domains you can choose from including .com, .net and .org to name a few.
After clicking the “Next” button, Bluehost will check the domain and let you know if it’s available. If the domain name is free for usage, you can proceed with the registration process. If not, you will have to select another name.
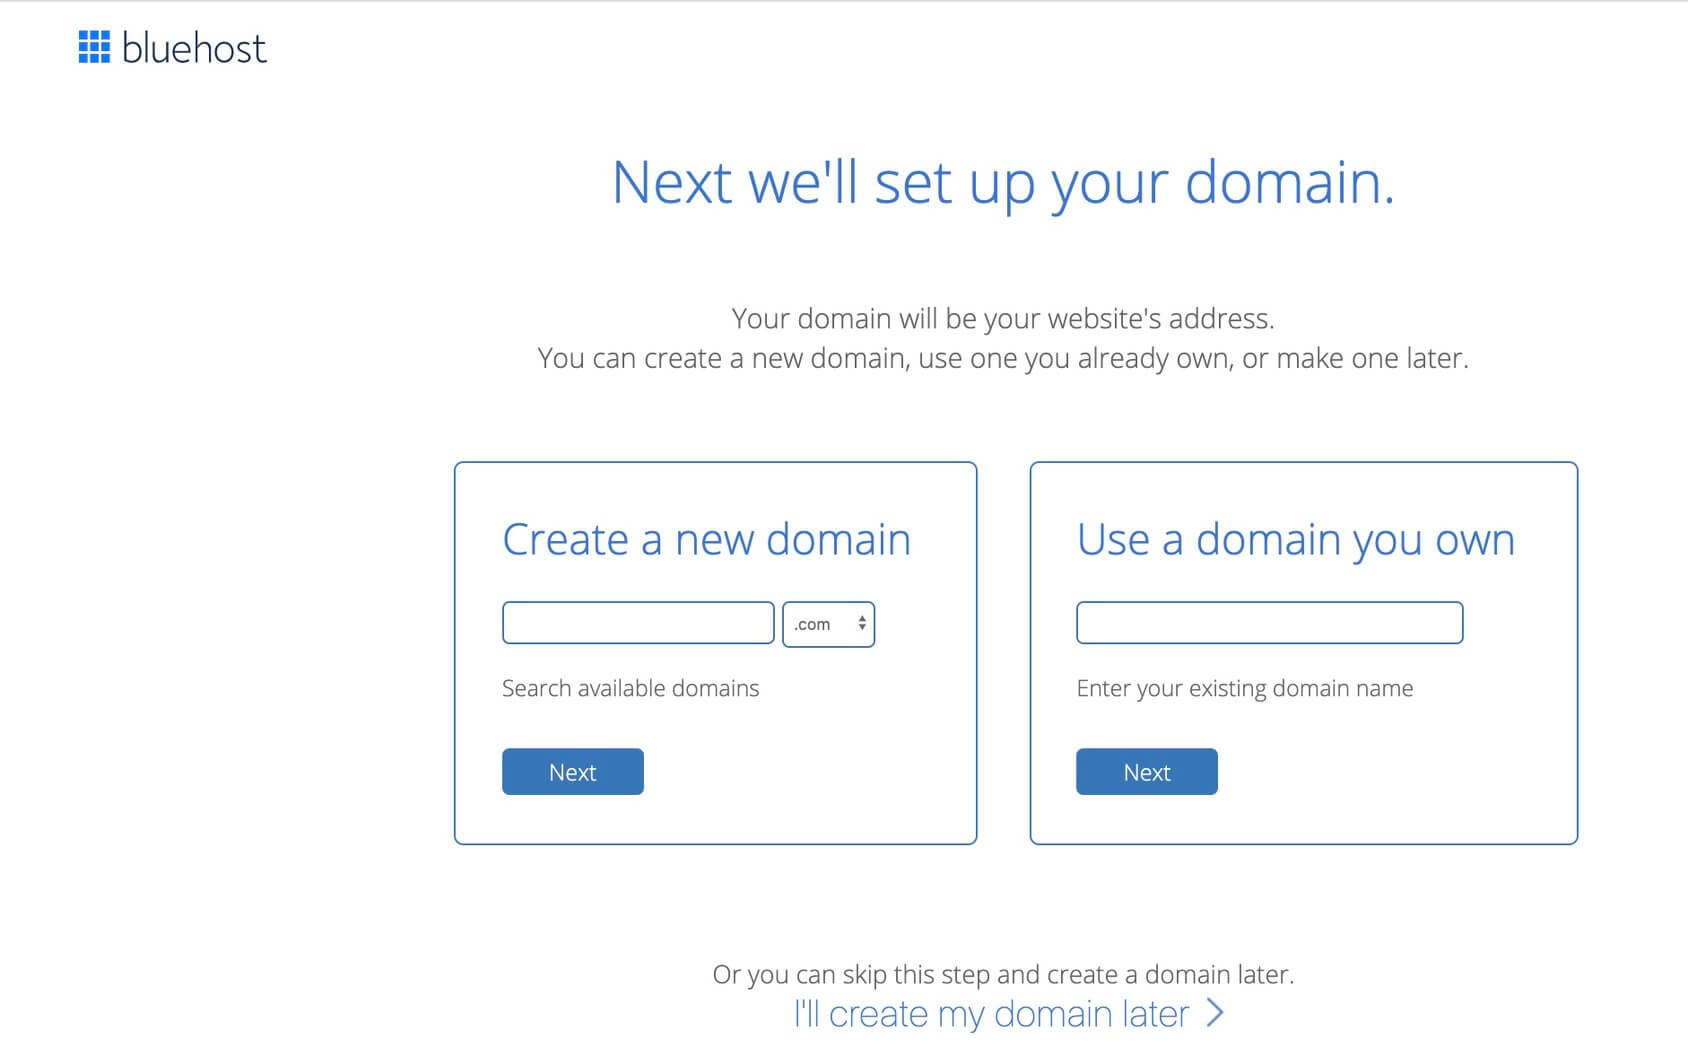
If the domain name you like is already taken, Bluehost will help you by letting you choose one later. That will give you time to do some research and thinking.

Sometimes it can be hard to decide on the name, so learn how to choose the best domain name for your blog.
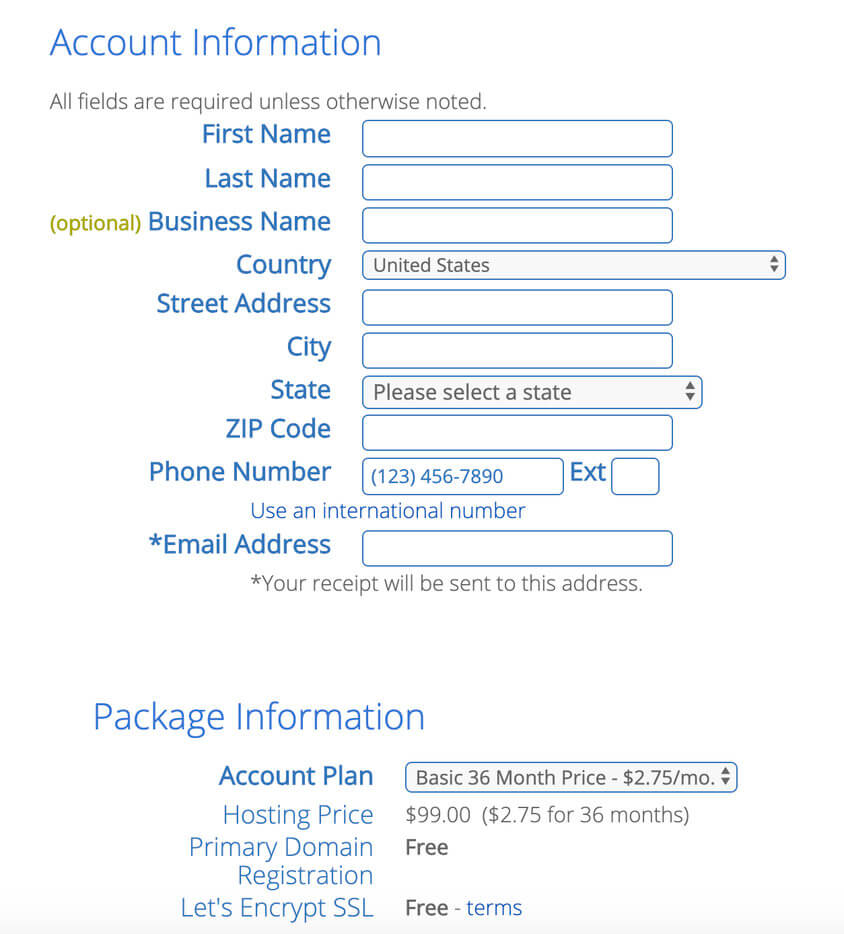
4. Register Bluehost account
Bluehost will then take you to the registration form, where you’ll fill in the billing details along with your personal information.
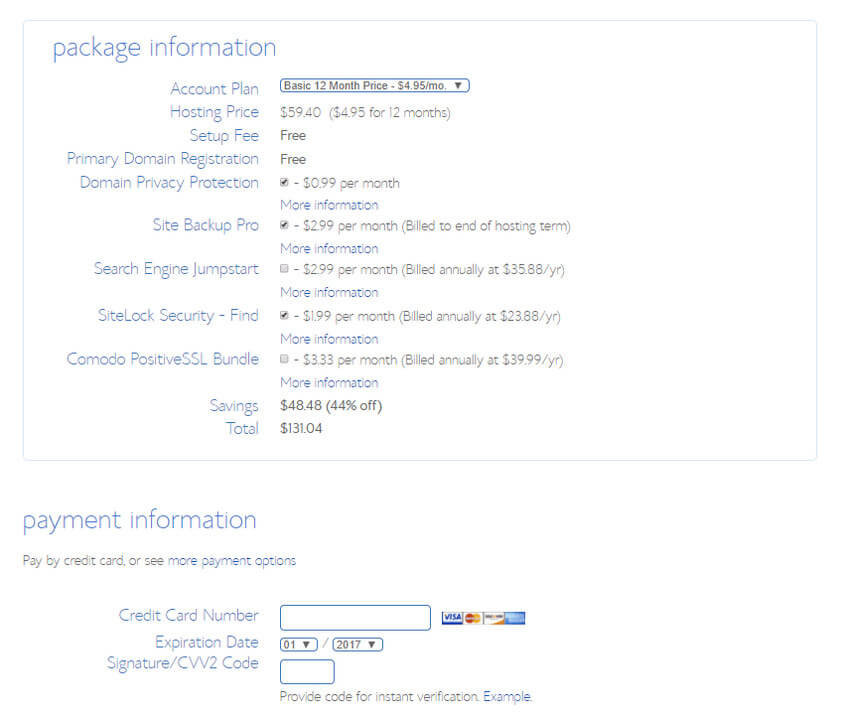
5. Select your hosting options
The 12-month package offers the basics at the lowest price. But you can also consider the other two options – after all, hosting is a long-term investment. You could always remove unnecessary features from your package in the initial stages of your blog launch and add them back later, whenever you feel the need.
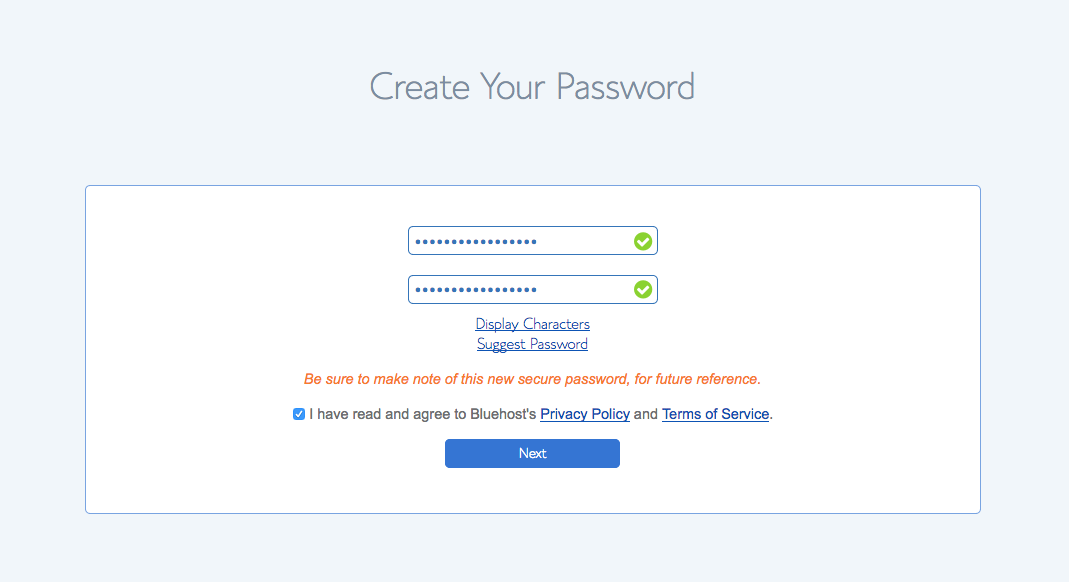
6. Set your password
You’ll set your password after you’ve entered your payment information, as the final step in registering yourself with Bluehost. This same password will be used for verification purposes.
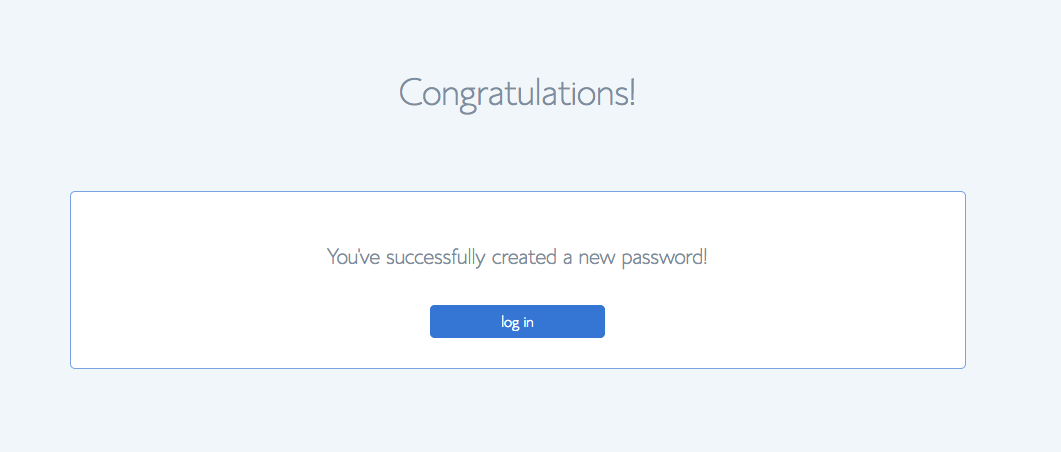
7. Log in to your new account
Congratulations! You are now the proud owner of a brand new website. Login to your Bluehost account to proceed with the setup.
8. Choose your WordPress theme
Now you’ll be given an option to choose a WordPress theme – pick one that suits your brand and represents your website in the best way.
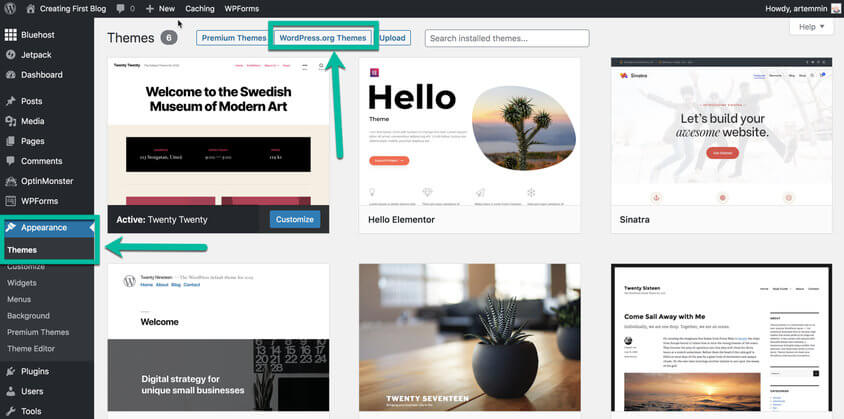
If none of the displayed options work, visit WordPress’s repository to choose a theme from the choices shown there.
And this is it! You can now go to the WordPress login page and start working on your blog. That was easy, wasn’t it?
Pros of a self-hosted blog
We believe that the self-hosted version of a blog is a much better option than having a free account at WordPress.com. Although there are many pros to having your own site, here are just a few ones you should take into consideration.
Pros of WordPress.org blogs:
- Complete control of your blog
- Use any theme or plugin
- Monetize the blog anyway you want
Setting up a blog with WordPress.com
On rare occasions, having a self-hosted blog may be unnecessary. No matter the perks that come with it, some users will never need complete control over their site. They won’t have to switch and customize themes nor use various plugins.
Many users are just not interested in learning about WordPress. They don’t want to install WordPress and take care of it on their own; all they want is a platform to let them publish stories.
So, the other option when starting a blog with WordPress is to register a free WordPress.com account. By doing so, you can start writing your first article in the next few minutes after reading this, without having to pay a single cent. You won’t have to worry about domain names, hosting space, or doing backups of your site.
So, how do you start a free blog with WordPress.com?
- Go to WordPress.com
- Click on the “Get Started” button
- Choose the type of website you want to create (blog, website, portfolio, or online store)
- Select a theme
- Enter the name of your site and choose the first free option
- Choose the “Start with Free” option
- Fill in the account info
- Click on the “Create my account” button
From the very moment after clicking the button, the versatile machines at WordPress.com will generate your site. You can now log into the blog and start working. You can additionally change themes, add widgets, and create new posts.
This is it. You have your first blog free of charge. Good luck!
How to upgrade your free account
Although the free account will be just enough for some individuals, you should know that there is a possibility of upgrading. WordPress.com has several plans you can choose from, and if you get a bit more serious about your blog, you will probably need to upgrade (or better yet, switch to the self-hosted version):

If you choose to upgrade your account, you will get a custom domain, Jetpack custom features, additional space, access to new themes, support, customization, and more. The Pro plan now lets you install custom themes and plugins as well. But take your time to go through all the options to see which plan will suit you the best.
Pros and cons of WordPress.com
Just like with the self-hosted version, WordPress.com has its pros and cons. Although you can have an account completely free and professionals will manage it for you, there are many disadvantages to it. For example, if you decide to use different themes and plugins you might find on the Internet or customize particular parts of the blog, it won’t be possible to do with the free or premium WordPress.com sites.
Pros
- Free for basic service
- Professionally managed
- Beginner-friendly and easy to set up
Cons
- Can’t use custom themes or plugins unless you opt-in for the Pro plan
- You don’t have control over the blog
- Limited monetization options
Pricing and features comparison
| WordPress.org (+ Bluehost) | WordPress.com (free) | WordPress.com (Pro) | ||
| Price | $2.75 per month | Free | $15.00 per month | |
| Domain | Custom domain name | WordPress.com Subdomain | Custom domain name | |
| Storage space | 50GB | 1GB | 50GB | |
| Design Customization | Complete customization | Basic | Advanced | |
| Monetization | Full freedom | Limited | WordAds program | |
| Support | 24/7 support | Community support | Email & Live Chat Support |
Maintaining a WordPress website
WordPress software presented and works in two ways:
The front end
As the name suggests, this page will be visible to your visitors whenever they access your site. The tasks usually performed in the back-end like the plugin functionality enhancements, and the customization of your theme will be visible to you and your visitors on the front-end of your WordPress website.
It also allows actions like commenting and sharing on other social mediums to be performed from the front-end by you and your incoming visitors as well.
The back end
This is commonly known as the WordPress dashboard – this is where you can oversee and manage every aspect of your site’s content, functionality, and web design.
If you want to access your WordPress dashboard, type “yourwebsite.com/wp-admin” into the address bar of your search engine. Here log in using your WordPress username and the password you set for your account.
The dashboard
The WordPress Dashboard handles your website’s administration.
The Dashboard is the center of blog administration. It consists of three main parts: the left side menu, top toolbar, and middle section.
The left-hand column of your WordPress dashboard is where you’ll find all of your admin options and where most of your creative effort will be focused.
Read more:
The Beginner’s Guide to Managing WordPress Website
Writing a blog post
To write a new blog post, log in to the Dashboard. On the left side click Posts – Add New. The editor area will open where you can start writing your first post.
There are a few things you need to get familiar with. For more details watch the video below or read our in-depth article on how to write your first blog post.