This is a guide to help install WordPress on WpEngine. WP Engine is one of the top hosting providers that offer fast, reliable, and secure managed WordPress hosting services. They provide 24/7 online support and many different hosting plans for their customers.

WP Engine
| Targeting Locations | Europe, Asia/Pacific, North America |
| Price Range | Prices starts from 35$, up to 290 euro / per month / |
| Products | Startup, Growth, Scale, Custom |
| Support | 24/7/365 online support |
| Suitable for | WordPress sites, |

To Install WordPress on WP Engine is a relatively easy and quick process. The first thing that you have to do before you start installing your WordPress is to get a domain name and choose a web hosting.
You can buy your domain name from any dedicated registrar, for example, Whois.com. The price of the domain can vary a lot, based on its availability. However, in most of the cases, you will be able to find a domain that costs less than 20$ per year.
Also Read How to Create a Blog on WordPress
Choose Your WordPress Hosting Plan to Install WordPress on Wp Engine
After you’ve chosen your domain name, you have to buy your hosting plan. WP Engine offers different managed WordPress hosting plans that can suit every budget and niche.
WordPress Installation On WP Engine
1. Log in into your User Portal – my.wpengine.com
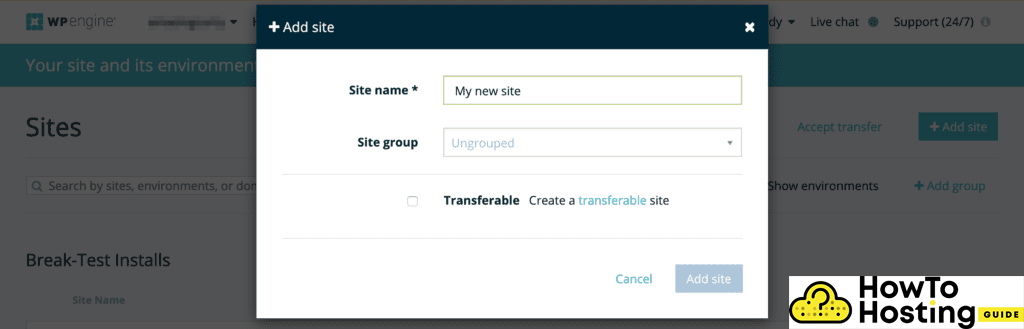
2. Click Add site, then fill in the site name. (this can be anything you want and you will be able to change it later) and click add site.
3. After adding your Site, you have to add your environment.
To do that click on the Add production, staging or development.
Unlike many other hosting providers, WP Engine offers 3 different environments for your WordPress website.
They have a production, staging and development environment.
Every environment is completely independent of the others and have in mind that only the production environment can have the domain added to it.
After you added your environment you have to choose its name. The name must be unique and cannot be the same as any other environment name in the past.
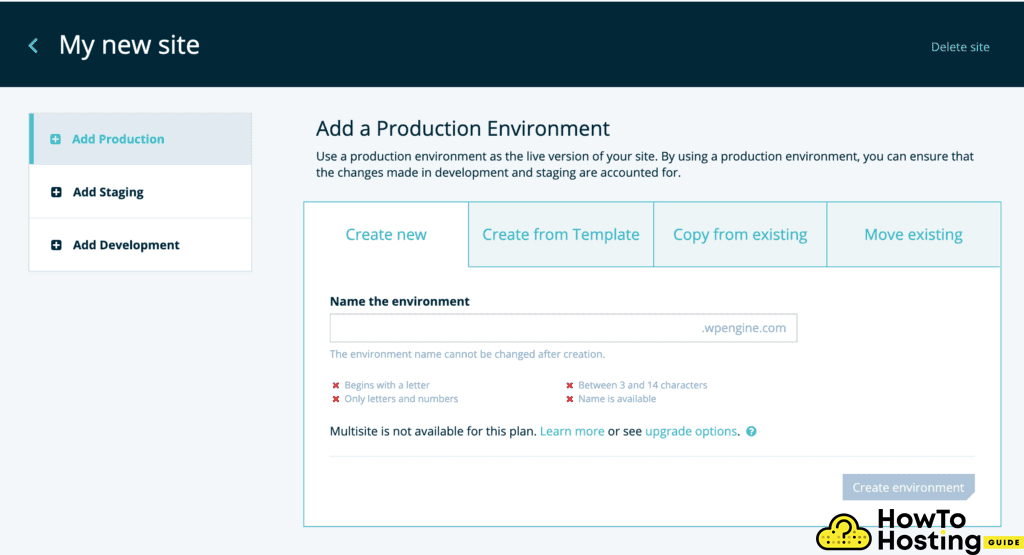
Next click on the Create Environment button and you are ready to log into your new environment. You will receive an email with further instructions on how to complete your admin account.
After you confirm your admin account you can log into your website’s admin panel by YourDomain.com/wp-admin
And now you are ready to start building your WordPress site on WP Engine.
HTH.GUIDE provides expertise and insight into the process of creating blogs and websites, finding the right hosting provider, and everything that comes in-between.